
How to Reduce Fabrication Errors in Acrylic

Acrylic fabrication errors rarely begin at the machine. A part may be cut accurately yet still fail its purpose because a dimension was assumed, a material grade was substituted, a bend allowance was overlooked or a finishing requirement was not defined. Knowing how to reduce fabrication errors means controlling the full path from design intent to packed, delivered components.
For commercial displays, retail fit-outs, architectural features and branded signage, small discrepancies can have costly consequences. A hole position that is out by a few millimetres can prevent installation. A poor edge finish can undermine a premium display. A component that performs well in a prototype may behave differently when produced at volume. Precision is not an upgrade at the end of the job. It needs to be built into the process from the first conversation.
Start with a fabrication-ready brief
The most effective quality control measure happens before material is ordered or a program is written. Drawings should communicate more than overall length, width and thickness. They need to define the functional requirements of the part: critical dimensions, tolerances, material specification, edge treatment, assembly method, visual finish and intended environment.
Acrylic parts often interact with other materials, fixtures or existing site conditions. If a panel is designed to sit within a powder-coated frame, the clearance cannot be left to interpretation. If a display component requires folded returns, the drawing must identify fold locations, finished dimensions and the face that matters most visually. This is particularly important where thermoforming, welding or multi-part assembly is involved, as those processes can introduce controlled movement that must be allowed for in the design.
Technical consultation is valuable when the design is still flexible. A fabricator can identify where a tolerance is unnecessarily tight, where a joint will be visible, or where a minor change to geometry will improve strength and repeatability. That early discussion is generally faster and more economical than remaking finished parts after a site issue is discovered.
Define what is critical and what is flexible
Not every dimension needs the same tolerance. Applying very tight tolerances across an entire drawing can add cost without improving the result. Conversely, failing to identify the dimensions that control fit can lead to components that look correct on paper but do not assemble in the real world.
Mark interface points clearly. These may include mounting holes, cut-outs, slots, mating edges and finished heights. Then distinguish them from non-critical cosmetic dimensions. This gives the production team a practical hierarchy for checking the work and helps ensure inspection effort is directed where it matters.
Select material for performance, not appearance alone
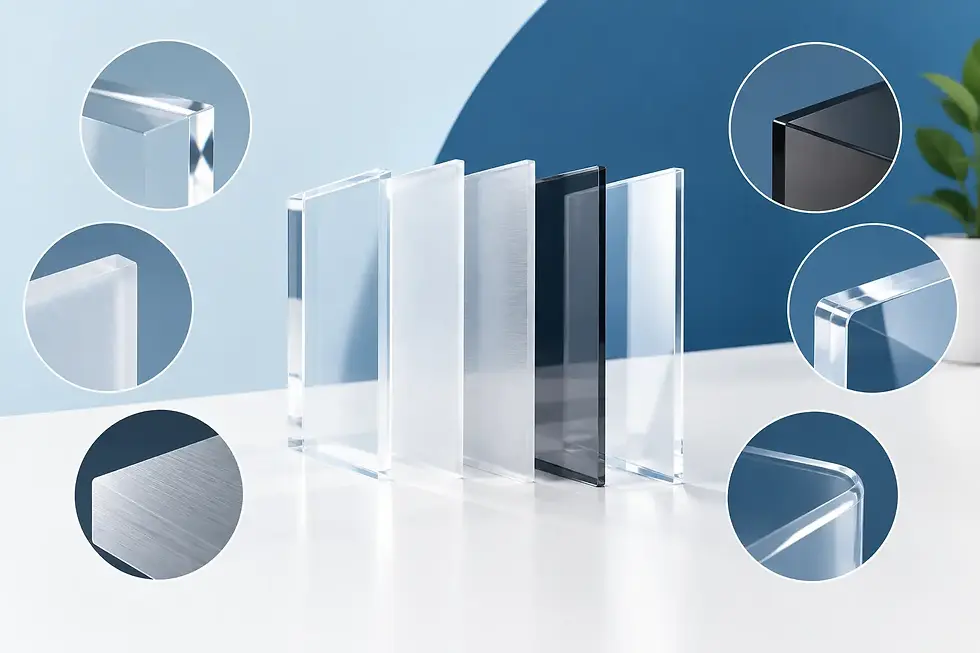
Acrylic is available in different grades, colours, thicknesses and surface finishes. Two sheets that appear similar can machine, bend, polish and weather differently. Choosing material solely by colour match or initial price can create preventable fabrication and performance issues.
Cast acrylic is commonly selected where a high-quality machined edge, polishing or detailed fabrication is required. Extruded acrylic can suit many applications, but its behaviour under laser cutting, routing and heat forming may differ. The right choice depends on the application, required finish, production quantity and budget.
Material thickness also needs to reflect the finished function. A thin sheet may be acceptable for a flat graphic panel but unsuitable for a freestanding display, a long unsupported span or a component exposed to repeated handling. For outdoor work, UV performance, thermal expansion and fixing strategy require careful consideration. A clear panel that fits tightly on a cool morning may expand enough to stress around fixings in direct summer sun.
Consistent material supply matters in repeat production. Where colour, translucency or finish must remain uniform across multiple batches, confirm the material specification early and maintain it through the production run. Unapproved substitutions are a common source of variation in visual projects.
Match the process to the component
Laser cutting, CNC routing, folding, thermoforming and welding each have strengths and limitations. The lowest-cost process is not always the lowest-risk option. Selecting a method without considering the part geometry, required tolerance and finish can create errors that are difficult to correct later.
Laser cutting can produce intricate profiles and fine detail efficiently, particularly in thinner material. CNC cutting can be better suited to thicker acrylic, larger sheets, controlled edge geometry or features that require specific tooling. The cut edge, heat effect and achievable internal corner radius should be assessed against the design requirement rather than assumed.
Folding requires allowance for material thickness, bend radius and the behaviour of the chosen sheet. A nominal flat pattern is not automatically a correct folded part. Thermoforming introduces another layer of complexity, including heat distribution, tooling, draw depth and potential thinning of the material. For any formed component, a prototype or sample approval can be a sensible control before committing to a production quantity.
Welded acrylic assemblies need the same discipline. Joint preparation, alignment, adhesive selection and curing conditions affect both structural performance and visual clarity. If a weld line will be prominent under retail lighting, that should be discussed before fabrication begins, not treated as a finishing issue afterwards.
Validate files before production
Digital files are efficient, but they can carry hidden risks. Duplicate lines, open vectors, incorrect scale, unconverted fonts and conflicting revision numbers can all lead to incorrect cutting or unnecessary delay. A fabrication-ready file should be checked against the approved drawing and project scope before it enters production.
For complex work, establish a single source of truth. Confirm which revision is approved, who can authorise changes and how those changes will be communicated. A verbal adjustment made during a meeting can be useful context, but it should not replace an updated drawing or written confirmation when it affects manufacturing.
It is also worth reviewing the component as a fabricated object rather than only as a screen image. Can tools access each feature? Are small internal pieces likely to move during cutting? Does the protective film need to remain in place through assembly? Will lettering or engraved details read correctly when viewed from the intended side? These practical checks prevent avoidable surprises.
Build quality checks into each production stage
Final inspection is necessary, but it is not enough on its own. If errors are only found once a job is complete, the cost of correction is already high. Better results come from checking key characteristics at the points where they can still be corrected efficiently.
A disciplined process may include incoming material checks, first-off inspection, in-process measurement, assembly checks and final visual review. The exact sequence depends on the job. A one-off reception display may need close attention to cosmetic finish and site dimensions, while a repeat batch of machine parts may place greater emphasis on fixture consistency, measurement records and repeatability.
First-off approval is especially useful for production runs. Before all components are made, inspect a representative part against the agreed criteria. Check critical dimensions, hole positions, finish, protective film, fit with mating parts and packaging requirements. If an adjustment is needed, it can be made before the issue is multiplied across the batch.
Visual quality deserves defined standards as well. Terms such as “clean finish” or “premium appearance” are open to interpretation unless the project team agrees on what they mean. Consider viewing distance, lighting conditions, acceptable edge treatment, weld visibility and any areas that will remain protected or concealed after installation.
Control handling, assembly and delivery
Acrylic can be fabricated accurately and still be damaged after manufacture. Scratches, stress cracks, chipped corners and marks from unsuitable packing can turn a compliant part into a rejected one. Handling controls should be proportionate to the finish and value of the work.
Protective film should remain on where practical, but it must not interfere with bonding, forming or final presentation. Larger panels may need edge protection, separated packing layers or purpose-made crates. Components intended for site assembly should be labelled clearly so installers can identify orientation, sequence and matching parts without trial and error.
Delivery planning also affects quality. Oversized or delicate items need suitable transport, restraint and unloading arrangements. Where a project has a fixed installation window, confirming access restrictions and site readiness helps avoid rushed handling at the final stage.
Treat feedback as production data
The strongest fabrication systems improve with each project. Installation feedback, client comments, rework causes and measurement results should inform future briefs, drawing standards and process controls. A repeated issue is rarely solved by asking people to be more careful. It is solved by identifying the condition that allowed the issue to occur and changing the process around it.
For clients, the practical lesson is straightforward: involve the fabrication team early, provide clear approval points and protect critical requirements from assumption. For a manufacturing partner, the responsibility is to apply the same discipline whether the work is a single prototype or a large commercial rollout.
The best acrylic components do not simply meet a drawing. They arrive ready to fit, perform and represent the standard of the project they were made for.


Comments